

Monday, 18 January 2016
Thursday, 7 January 2016
Initial Environmental Experimentation 1
 |
| This is the image I started with, this image was taken at a vintage clothes stall in Camden market, London. |
 |
| I added guides to allow me to line everything up. |
 |
| I calculated my spacings and entered them in for both the horizontal and vertical guides. |
 |
| I added a layer and then used the marquee tool to draw a circle, using my guides to help me. Once I had created my circle around the area I wanted I clicked on the layer with my original photo and copied and pasted it straight to a new layer, I repeated this for the rest of the grid. |
 |
| Once I had finished my first row, I used the move tool to swap round each circle. |
 |
| I repeated for the rest of my grid. |
 |
| I then selected a layer and went to edit, transform and flip horizontally to flip the photo to create more of an illusion. |
 |
 |
| I then turned my guides off. |
| Experimental final pieces After I had finished, I wasn't completely happy with the piece, I then experimented with different versions of the similar style, incorporating different colours and shapes.  |
  |
Contact Sheets |
   |
Evaluation |
| This is my inspiration for this piece. My piece does differ from this original as I wanted to put my own spin on it. This original is a landscape photo and mine is a portrait. I turned out how expected and works well, however, because my photo is more crowded than this original it doesn't work as well. It is less clear everything has been shuffled around. I then experimented with different developments of my original idea, I think these have worked better, especially the multi colour one. It is clearer there is something different about it and the image is still intact. |
Initial Environmental Experimentation 2
 |
| I started with my first image, I found the channel with the most contrast, which turned out to be the blue channel. |
 |
| I duplicated the layer it by dragging it into the new layer icon. |
 |
| I used levels and moved the light and mid-tone sliders towards the right to dramatically darken the image |
 |
| I then set up a brush with a hard tip to just fill in any remaining highlights |
 |
| I clicked on the RGB channel and then command and clicked the blue copy channel to load the selection |
 |
| Next I inverted the image. |
 |
| I copied and pasted in my landscape photo into my photoshop document. |
 |
| I command and clicked the portrait image and applied a layer mask. |
 |
| I unlocked the mask with the layer by clicking the chain icon |
 |
| I later went to transform, and scale to move the photo to the right position. |
 |
| I then selected the portrait layer and clicked command J to duplicated it. |
 |
| Finally I desaturated the copy and changed the blending mode to multiply. |
 |
| This is my final piece. |
Contact Sheets |
 |
Evaluation |
| This set of images was my inspiration for this piece. I think my piece went well and came out better than I had imagined. The first stage would have been easier if my image was isolated, because it wasn't it meant I had to cut it out using the magnetic tool. I like how you can still the detail of the portrait through the landscape photo, you can clearly see the eyes, nose and mouth and the hat strap and hat silk. |
Monday, 4 January 2016
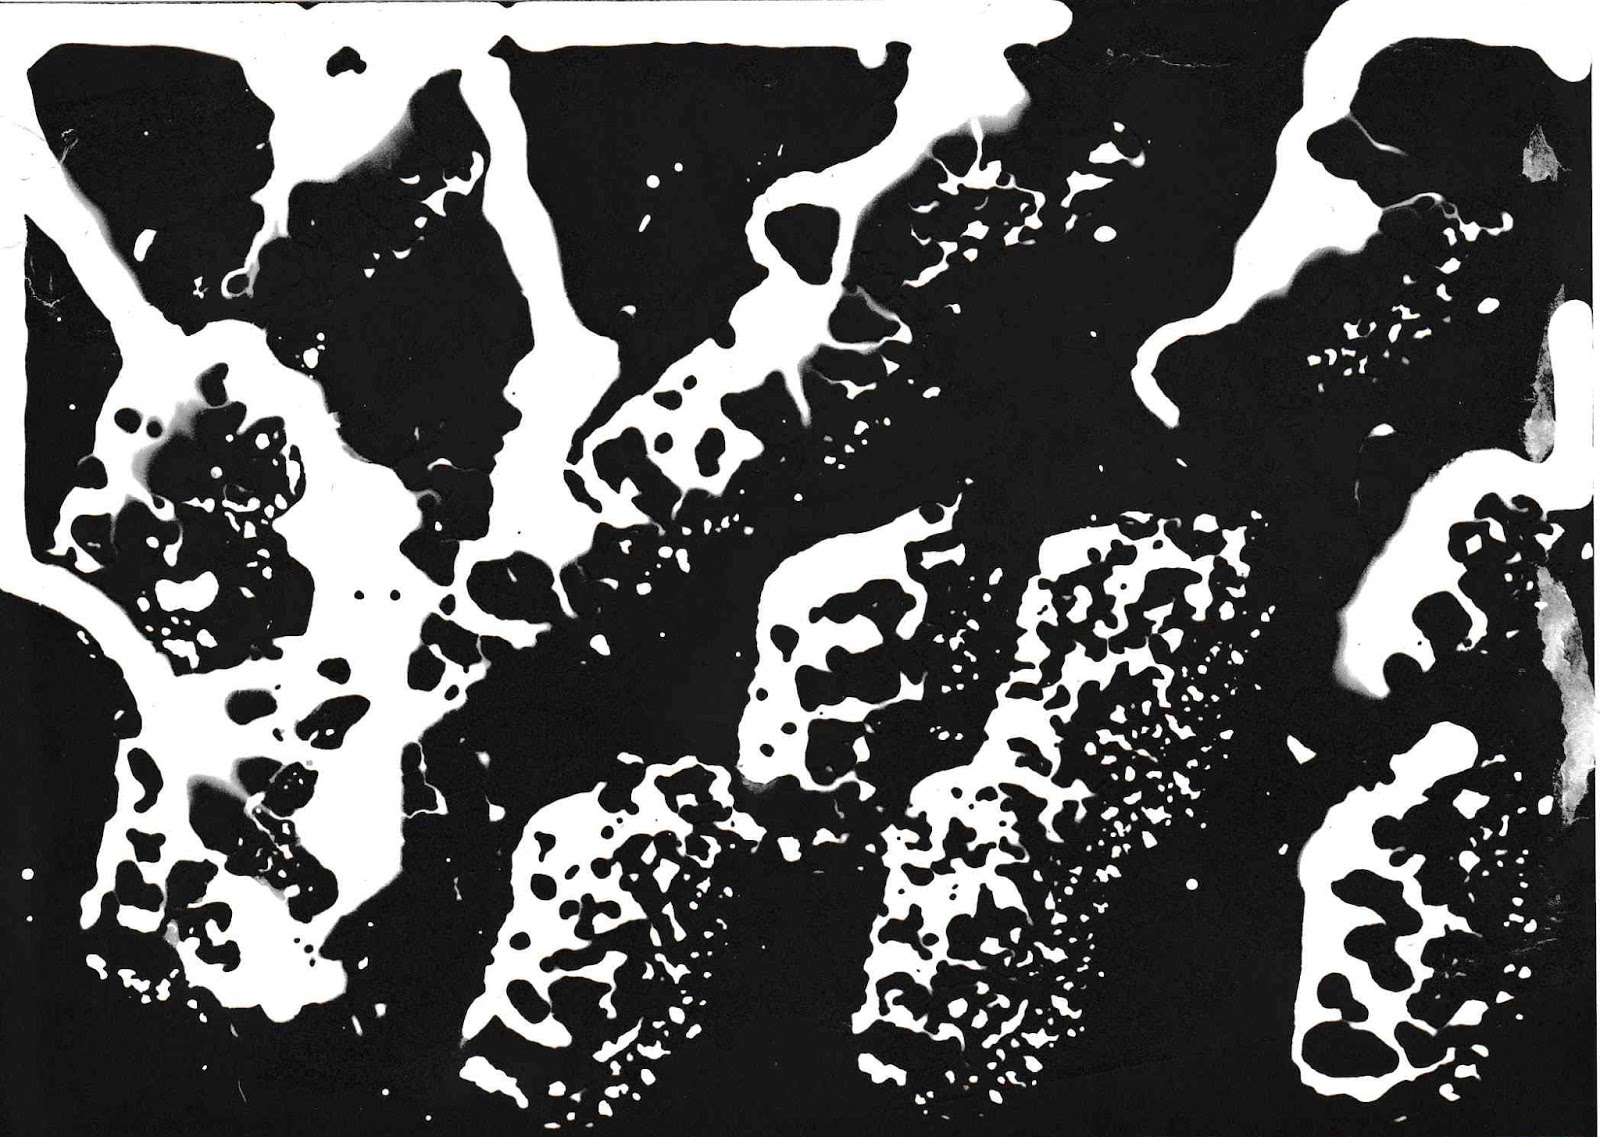
Chemicalgram
A photogram is a picture produced with photographic materials, but without a camera. Instead, we used chemicals on pre-exposed paper.


Subscribe to:
Comments
(
Atom
)